Why spacer size matters more on large tiles
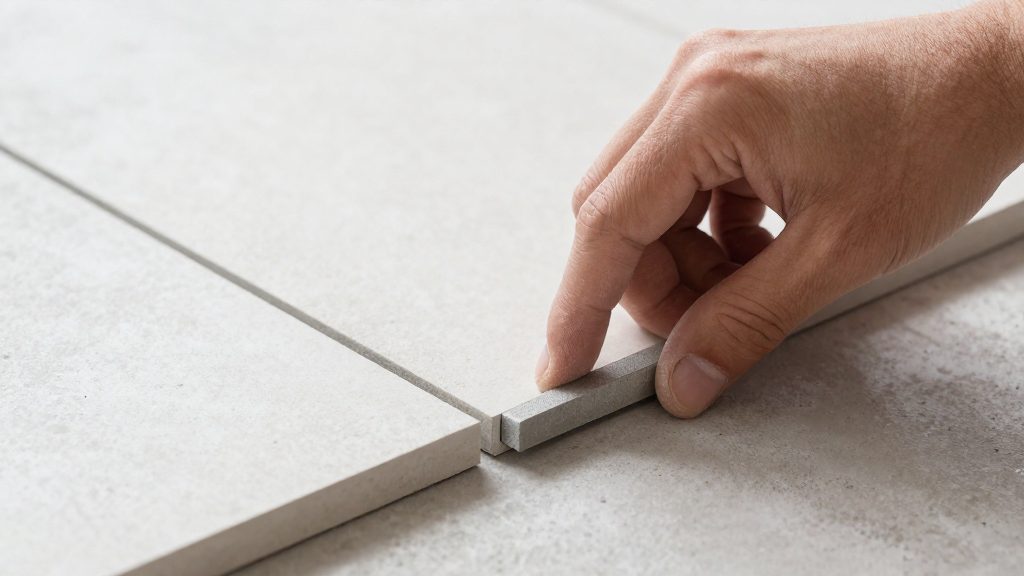
A spacer does two jobs. It sets the gap between tiles, and it keeps the tile edges from touching while the thinset sets. On a 6-inch tile, a slightly wrong gap is hard to notice. On a 24-inch tile, the same error adds up across the room, and it changes how flat the finished floor looks.
Large tiles also move less forgivingly. A small amount of edge warp, a slightly uneven base, or a joint that is too narrow can leave one tile standing higher than its neighbor. That raised edge is called lippage. The spacer size you choose decides how much room the installer has to absorb those small differences.
This article explains how to pick a joint width for large tiles, how to check it against the rules, and how to lay out the work safely. It does not recommend a product. Your tile’s data sheet always comes first.
What counts as a large tile
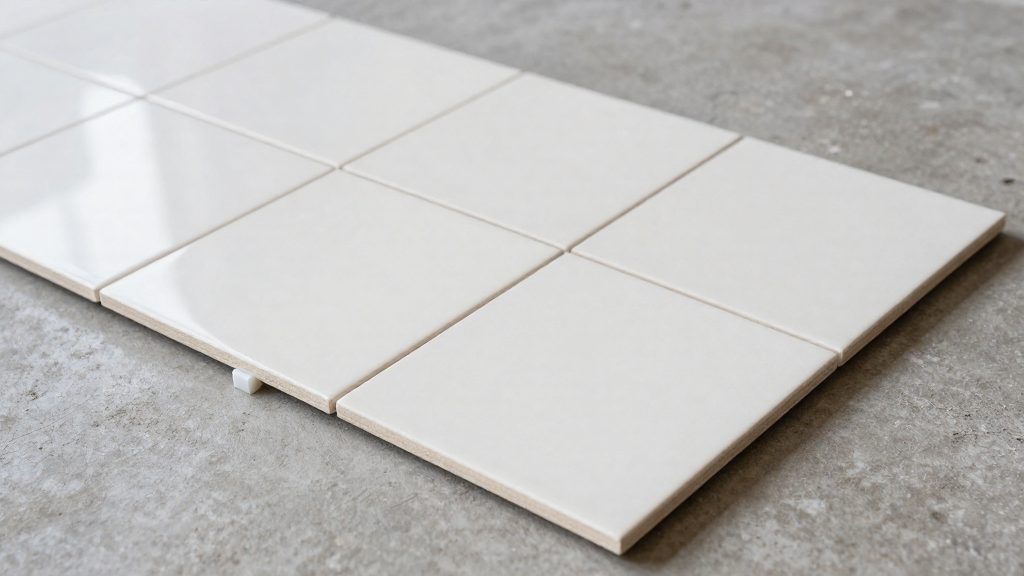
The joint rules in the current ANSI A108.02 standard change at 15 inches (380 mm). When any side of a tile is longer than that, the rules for staggered (running-bond) layouts apply. Older guides sometimes use 18 inches as the threshold, so check the edition your installer follows.
Rectified tile has its edges ground to a precise size. Calibrated tile is sized by a different process and usually has a wider tolerance. That difference is the main reason the minimum joint is smaller for rectified tile than for calibrated tile.
Minimum joint widths for staggered layouts
For a running-bond layout where any side is over 15 inches, the standard calls for an average joint width of at least:
- 1/8 in (3.2 mm) for rectified tile
- 3/16 in (4.8 mm) for calibrated tile
The minimum is not the whole story. The joint must also grow by the edge warpage measured on the tile’s longest edge. Warpage is the amount an edge curves away from a straight line. You will find the warpage figure on the manufacturer’s data sheet, or you can ask the supplier for it.
Here is a worked example with a hypothetical figure. Suppose a rectified 12 by 24 inch tile is laid in a staggered floor pattern, and its data sheet lists 1/32 in (about 1 mm) of warpage on the longest edge. The calculation is:
- Base minimum for rectified tile: 1/8 in
- Add warpage: 1/32 in
- Required average joint: 1/8 + 1/32 = 5/32 in (about 4 mm)
A 1/8 in spacer would be too narrow in this case. A 3/16 in spacer (6/32 in) meets the requirement. The result is a joint slightly wider than the minimum, which is the safer choice.
The joint is an average, so the spacer must sit squarely in every joint. If one joint is consistently narrower than the others, the grout line will look uneven even though the average is correct.
Why a wider joint can help, and where it stops
Wider joints give the installer more room to absorb small irregularities. A wider joint can hide a slight variation in tile size. A narrower joint makes the same variation easier to see.
There is a floor under the joint width, too. ANSI and NSI never permit a grout joint under 1/16 in (2 mm). Joints that are very narrow may also be harder to grout cleanly, so use the widest joint that still meets your layout and your tile’s data sheet.
Lippage limits: how much step is acceptable
Lippage is the step between the edges of two neighboring tiles. The standard sets different limits depending on the joint width:
- Joints from 1/8 in to under 1/4 in (3 mm to under 6 mm): about 1/32 in (1 mm) of lippage, plus the tile’s warpage allowance.
- Joints 1/4 in (6 mm) or wider: about 1/16 in (2 mm) of lippage, plus the warpage allowance.
- Gauged porcelain tile, panels, and slabs: about 1/32 in (1 mm), with no added warpage allowance, because these products are made to a tighter tolerance.
A practical check is to lay a straightedge across two neighboring tiles and feel for the step with a fingertip or a feeler gauge. Check the layout before the thinset firms up, because once it sets, correcting a high tile means breaking it out.
Layout limits: offset and pattern
A staggered pattern shifts each row of tiles by a fraction of a tile’s length. For tiles with any side longer than 15 inches, the offset must not exceed one-third of the tile length, unless the manufacturer specifies otherwise. An offset larger than that changes how the joints line up and can make lippage worse.
Pick the pattern before you buy the spacers. A stacked (grid) layout can hide a poorly flat floor less well than a staggered one, and it puts all the joints in line. That makes it easier to see when a joint is off.
Check the base before you set the spacers
Spacers cannot fix a floor that is out of flat. For tiles with all edges under 15 inches, the standard allows a larger variation in the base than it does for tiles with a side 15 inches or longer. For large tiles, the limit is tighter. Check the exact flatness numbers in ANSI A108.02 (Section 4.2) before you start, because they depend on the edition and on the tile size.
If the base fails the check, fix it first. Use a leveling compound or patch the low spots, and let that material cure as its manufacturer directs. Setting tile on an uneven base and relying on a wider joint to hide it is the most common cause of visible lippage.
Movement joints are not spacers
A movement joint is a gap that lets the tile field move with the building. It is not the same as a grout joint, and it is not set with a spacer. Movement joints are required where tile meets walls, at changes in the floor plane, and around columns and similar features. Interior tile exposed to direct sunlight or moisture needs more frequent movement joints than tile in a dry, shaded room.
For exterior tile, the TCNA handbook (EJ171) calls for movement joints every 8 to 12 feet. The joints need a minimum width of 3/8 in (9.5 mm) at 8-foot spacing and 1/2 in (12.7 mm) at 12-foot spacing. Above-ground slabs also get a limit of 12 feet, and the spacing should be closer for larger tile. For interior spacing, check EJ171 and the design professional’s drawings for your building, because the rules depend on the exposure and the substrate.
Rake out thinset in designated movement joints before the tile goes down, and do not fill them with grout meant for a standard joint. The handbook is the reference for the filler.
Worked example: a 10-foot run of 12-inch tile
Suppose you lay 12-inch rectified tile along a 10-foot (120 in) run. You choose a 3/16 in joint, which meets the example requirement above.
Each tile plus its following joint takes 12 + 3/16 = 12 3/16 in. Nine full tiles with eight joints between them take:
- 9 × 12 = 108 in of tile
- 8 × 3/16 = 1 1/2 in of joint
- Total: 109 1/2 in
That leaves 120 − 109 1/2 = 10 1/2 in. The last tile must also be separated from the ninth by a joint, so the cut tile is 10 1/2 − 3/16 = 10 5/16 in wide.
That is the figure you cut to. Measure the cut twice, and check the calculation against the actual wall before you cut the last tile, because a small error repeats across the whole row.
Setting and removing spacers
Place spacers at the corners of each tile as you set it, and keep them square to the edge. Check the joint with a straightedge after every few rows. If a spacer slips or gets buried in thinset, lift the tile, clean the spacer, and reset it. A damaged or worn spacer changes the joint width, so replace it rather than bending it back into shape.
Remove spacers before the grout goes in, unless the spacer is designed to stay in place. Pull them out while the thinset is still soft, before it hardens around them. Check the thinset data sheet for its open time and its cure time before you walk on the floor or grout the joints.
Cutting large tile safely
Large tile often needs cutting at the edges, and cutting creates crystalline silica dust. Wet cutting keeps the dust down. Use a wet saw with a steady flow of water, work in a ventilated room, and wear a respirator rated for silica dust when you cut tile dry or use a grinder.
OSHA’s construction standard for respirable crystalline silica (29 CFR 1926.1153) sets a permissible exposure limit of 50 micrograms per cubic meter of air, averaged over an 8-hour shift, with an action level of 25 micrograms. That rule binds employers, not homeowners. The figures still show that dust from cutting can exceed a safe level quickly, so control it the same way a professional would.
When to stop and check with the manufacturer
Stop and check the data sheet if the tile is not rectified or calibrated as the label says, if the warpage figure is missing, if the tile is much larger than the sizes listed in the standard’s examples, or if the base cannot be brought into the flatness limits. The manufacturer’s installation sheet sets the edge type and the tolerance, and those govern the final joint width.
If the tile is for a shower or other wet area, check the waterproofing and joint details in the manufacturer’s instructions as well, because the rules for wet areas can add requirements that this article does not cover.
Frequently asked questions
Can I reuse tile spacers from a previous job?
Reuse them only if they are undamaged and clean. Worn or bent spacers change the joint width, so replace any that have lost their shape or are coated with hardened thinset.
Do I need a permit to tile a floor at home?
That depends on your local building department and the kind of work. A simple tile replacement often needs no permit, but structural changes, moved walls, or new wet-area work may. Call your local building department before you start.
Do the same joint rules apply to a shower wall?
The same tile data sheet governs the joint width, but wet areas bring extra requirements for waterproofing and for the joint material. Follow the manufacturer’s instructions for the wall system, and check those details before you set the first row.