For a 12 ft × 12 ft room (about 3.66 m × 3.66 m) with 8 ft (2.44 m) ceilings, the primer quantity depends on two things: the area you prime and the coverage printed on your product. Once doors and windows are subtracted, the walls of this room come to 32.8 m², and the ceiling adds 13.4 m² if you prime it too. Divide the total area by the coverage in square metres per litre, round up to a whole container, and you have the amount to buy. The steps below show each figure, along with the precautions that apply if the house is older.
How do you measure the wall area of a 12x12 room?
Start with the perimeter. Four walls of 12 ft give a perimeter of 48 ft, or about 14.6 m. Multiply the perimeter by the floor-to-ceiling height: 48 ft × 8 ft gives 384 sq ft, which is 35.7 m² (14.6 m × 2.44 m). Replace the 8 ft height with your own measurement if it differs.
Measure the height at several points along each wall rather than once. An uneven ceiling, a sloped section, or a raised ceiling near a window changes the total. If one wall is partly under a sloped ceiling, split it into rectangles, measure each one, and add the results. Skirting boards and crown moulding are not deducted, because the primer area is governed by the wall surface behind them and the difference is small in practice.
Write the gross wall area down before moving on. You will subtract openings from this figure, and it is easier to check your arithmetic when the starting number is recorded separately.
Should you subtract doors and windows from the primer calculation?
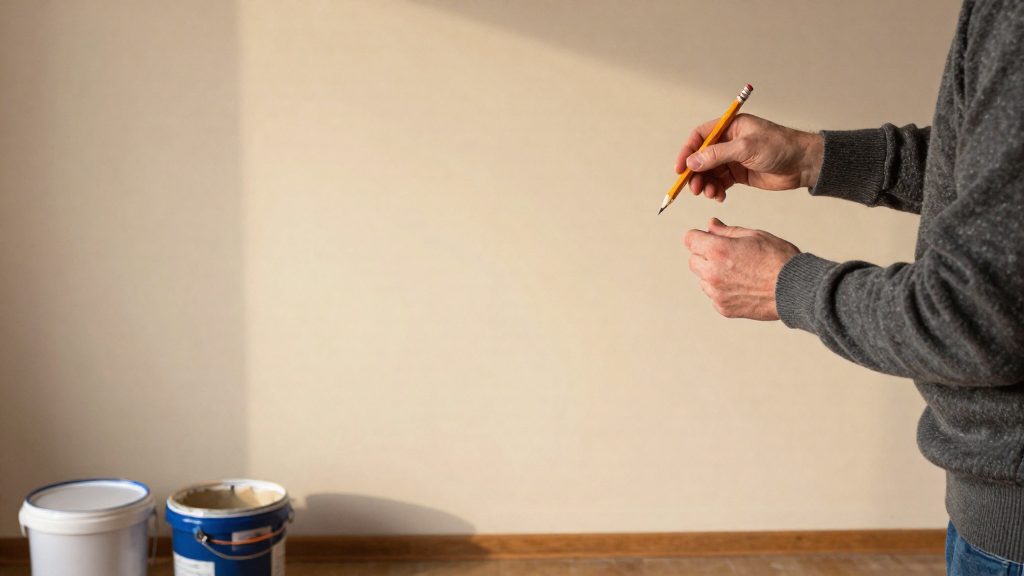
Yes, if those openings will not be primed. Measure each door and window opening as width × height, then add the results together. A door 0.8 m wide and 2.1 m high is 1.68 m². A window 1.2 m wide and 1.0 m high is 1.2 m². Together the two openings total 2.88 m², or 2.9 m² rounded. Subtract that from the gross wall area: 35.7 m² − 2.9 m² = 32.8 m² of net wall to prime.
If you prime door frames, window trim, or the reveal inside a window recess, measure those surfaces separately and add them to the total. Their coverage is usually a smaller share of the job, but leaving them out is a common reason for running short on the last day.
Some people skip the deduction and add a margin instead. That approach is acceptable, but choose one method and apply it consistently. Deducting openings and then adding a large margin on top overstates the quantity and can leave you with unused material that needs careful storage.
When should you prime the ceiling too?
Prime the ceiling when the surface is new or repaired drywall, when it has water or smoke stains, when repaired patches look different from the surrounding surface, or when the paint colour is changing sharply. Where the ceiling is sound and already painted in a matching finish, a primer is usually not needed, and the paint label will state whether a coat of primer is required before recoating.
The ceiling in this room is the same size as the floor: 12 ft × 12 ft, or 144 sq ft, which is 13.4 m². Stains need a product labelled for stain blocking. Do not assume an ordinary primer will hide tannin, water or smoke marks, because a stain can bleed through a coat that is not designed for it. Check the label or the technical data sheet before you buy.
How do you turn label coverage into litres?
Coverage is printed on the technical data sheet or the container, usually as square metres per litre (m²/L) on products sold in Canada. Some older or imported labels give square feet per gallon instead. Use the figure that matches the surface you are priming, because a rough or porous surface is often listed separately from a smooth, sealed one.
The calculation is:
primer litres = primed area (m²) ÷ coverage (m² per litre) × number of coats
Most primers are applied in one coat, but some surfaces call for two. If the label gives square feet per gallon, note that a US gallon is 3.785 litres and an Imperial gallon is 4.546 litres. Divide the square feet per gallon figure by the litres-per-gallon value to get square feet per litre, then divide by 10.764 to convert to m² per litre. Confirm which gallon the label means before you convert.
Round the result up to the next whole container. Buying slightly more than the calculation requires is safer than stopping partway through a room, and any unopened container can be stored for later touch-ups if the product is still usable.
Why does the surface condition change the amount?
Label coverage assumes a surface similar to the test conditions the manufacturer used. Porous plaster, bare new drywall, unpainted wood, and rough or textured walls absorb more material, so the litres needed increase compared with the printed figure. A dark or heavily saturated existing colour may also need a tinted primer or an extra coat to block through, depending on what the label says.
Chalky or powdery surfaces often need cleaning and a dedicated sealer before primer goes on. If a surface is glossy, the product may need light sanding or a bonding primer to adhere.
The official sources consulted do not give a universal percentage to add for porous or textured surfaces. Where the surface is uneven, plan a margin based on the manufacturer’s guidance for that surface type, and do not assume the printed figure applies unchanged.
When does the age of the house change the preparation?
The age of the building matters before any sanding, scraping or stripping. According to Health Canada, a home built before 1960 probably contains lead-based paint. Paint applied between 1960 and 1990 may contain lead, often in smaller amounts, and Health Canada states that homes built after 1990 should not contain lead. HealthLinkBC adds that paint from the 1960 to 1990 period may contain lead on both the inside and the outside of the house.
If the house was built before 1990, test the paint before disturbing it. A home test kit or a paint chip sent to a certified laboratory can answer the question, according to HealthLinkBC. Health Canada also notes that a licensed contractor with X-ray equipment can detect lead on painted surfaces.
Where the existing paint is intact, HealthLinkBC notes that leaving it alone can be safer than removing it. Priming over sound paint is a different task from stripping it, and it is worth asking a professional whether a primer is suitable over the existing finish. Paint that is chipping, flaking or within reach of children is a serious hazard. In that case, Health Canada advises hiring a qualified professional.
If you do the work yourself, follow these safeguards. Health Canada advises against sanders, heat guns and blowlamps, because they create lead dust and fumes. Where stripping is needed, Health Canada suggests a brush-applied chemical stripper paste. HealthLinkBC recommends sealing the work area with plastic, shutting off forced-air heating and cooling and covering the vents, and keeping toddlers, preschoolers and pregnant women out of the home while dust may spread. Wear protective clothing and a NIOSH-approved respirator, and do not eat, drink or smoke where paint is being removed. Clean up with wet methods, a HEPA vacuum and wet-wiping, and bag any waste labelled as hazardous. Health Canada also advises working in ten-minute stretches with breaks outdoors, and leaving the area at once if you feel dizzy, get a headache or have trouble breathing.
How do you apply primer safely indoors?
Keep the room ventilated while you work and during drying. Follow the product’s label and safety data sheet for ventilation, protective equipment and temperature limits. Solvent-based (alkyd) primers generally produce stronger odours and dry more slowly than water-based products, so ventilation matters more with them. Keep children and pets out of the room until the coat is dry and the odour has eased.
Work with the lid closed when the product is not in use, and keep containers out of children’s reach. Rags soaked in oil-based products can heat up and ignite when left in a pile, so spread them flat to dry or place them in a sealed metal container before disposal. Take leftover liquid and used rags to your municipality’s household hazardous waste program rather than pouring them down a drain or putting them in household garbage.
What does the full calculation look like for this room?
The walls come first. The gross wall area is 35.7 m², and the two openings subtract 2.9 m², leaving 32.8 m² of net wall to prime. The ceiling adds 13.4 m², so a fully primed room gives a total of 46.2 m² (32.8 + 13.4).
If you prime only the walls, the divisor is 32.8 m². If you prime the walls and ceiling at the same coverage, the divisor is 46.2 m². Replace the coverage figure with the value printed on your product, using the row for the surface you are priming, and round the answer up to a whole container.
If the house was built before 1990, complete the lead check before purchasing a container, because the preparation method can change the amount of material you need and the protection you require.
Frequently asked questions
Can a paint-and-primer product replace a separate primer?
Sometimes. Use it only if its label says it suits the surface and any stains or repairs you have. Otherwise a separate primer is the safer choice.
How long should I wait before painting over primer?
Follow the drying and recoat times on the technical data sheet, since they change with the product, temperature and humidity.
Can I spray primer instead of rolling it on?
Spraying changes how much material reaches the surface, so check the product’s application instructions before switching methods, and recalculate if the label gives separate spray guidance.
Can I prime over an older oil-based finish?
Check the label for compatibility with the existing finish.