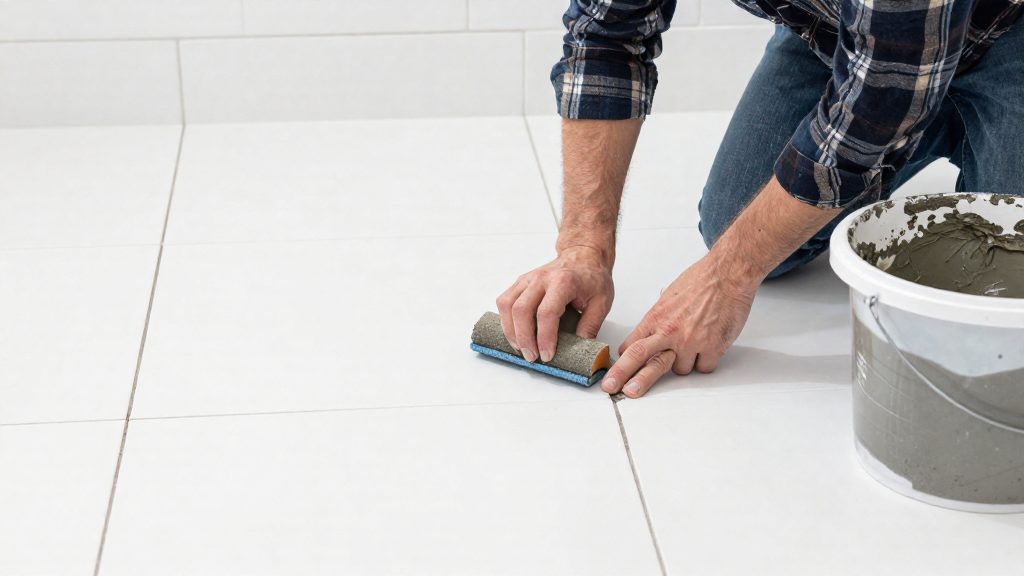
There is no single grout quantity per square foot of tile, because the answer depends on the tile size, the width and depth of the joints, and the layout. For a common 12 × 12 in (30.5 × 30.5 cm) tile set with 1/8 in (3.2 mm) joints and 3/8 in (9.5 mm) deep, the joint geometry gives about 1.1 cubic inches of grout per square foot, or roughly 1.8 litres per 100 square feet before any waste allowance. The method below works for any rectangular tile, and a worked example for a 150 sq ft floor follows.
How do you calculate grout volume per square foot?
Grout fills the gaps between tiles, so the calculation has two parts: the share of the surface that the tiles cover, and the share that is joint. Measure the tile length (l), the tile width (w) and the joint width (g), all in the same unit. Then work through four steps:
- Tile share of the surface: R = (l × w) ÷ ((l + g) × (w + g)). This is the fraction of the layout occupied by tile.
- Joint share: 1 minus R.
- Grout area = total area × (1 minus R). Use the same unit for the area, for example 144 in² for one square foot.
- Grout volume = grout area × joint depth.
The result is a theoretical volume for a flat, regular grid with joints filled to full depth. A quick sense-check gets close to it: multiply the joint length per square foot by the joint width and depth. For 12 in tiles, each tile adds two 12 in joint runs, so there are 24 in of joint per square foot, and 24 × 1/8 × 3/8 gives 1.125 cubic inches, close to the exact 1.10 cubic inches in the example below.
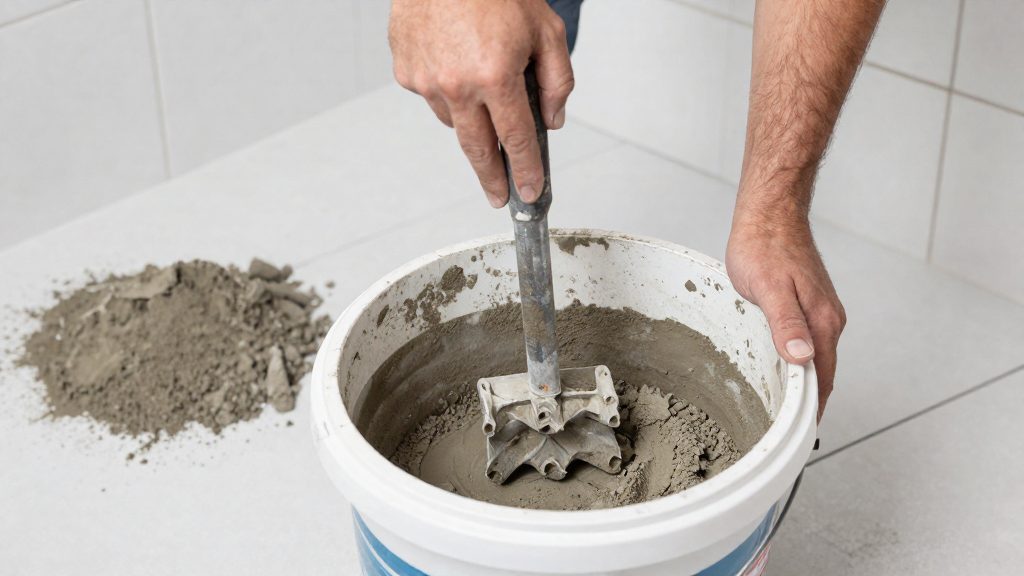
What changes the amount of grout you need?
Four variables do most of the work, and they behave differently.
- Tile size. Smaller tiles have more joint per square foot. A 12 × 12 in tile has about 2 ft of joint per square foot, because each tile shares its edges with its neighbours. A 2 × 2 in mosaic has about 12 ft of joint per square foot. The volume rises accordingly, even if the joint width stays the same.
- Joint width. For typical joints, grout volume rises roughly in step with joint width, so a wider joint needs noticeably more grout, even though the tile itself is unchanged.
- Joint depth. Volume is directly proportional to depth: double the depth and you double the grout. On most floors the depth is the tile thickness, but the official sources consulted do not give a general rule for bevelled or textured edges. Check the tile maker’s specification for the actual depth.
- Layout. A straight grid, a running bond, and diagonal or herringbone layouts all produce different numbers of cut tiles. Cut edges and small offcuts add waste, which is why the allowance matters more for patterned work.
How much area should you measure?
Measure the area that will be tiled, not the total floor area of the room. Cabinets, built-in units and fixed fixtures that will not be tiled should be subtracted. For an irregular room, split the floor into rectangles, measure each one, add the results, and then subtract the untiled areas. Round up to the nearest tile box size for the tiles themselves, but calculate grout on the measured tiled area.
Worked example: how much grout for a 150 sq ft floor?
Take a 150 sq ft (13.9 m²) floor laid with 12 × 12 in tiles, 1/8 in joints and tiles 3/8 in thick.
Step 1: the pitch, meaning tile plus joint, is 12.125 in on each side. The tile share is 144 ÷ (12.125 × 12.125) = 144 ÷ 147.02, which gives R ≈ 0.979.
Step 2: the joint share is 1 minus 0.979, or about 0.020. Per square foot, that is 144 × 0.0204 ≈ 2.94 in² of grout area.
Step 3: grout volume per square foot = 2.94 in² × 0.375 in ≈ 1.10 in³.
Step 4: for 150 sq ft, 150 × 1.10 in³ ≈ 165 in³. Since one cubic foot is 1,728 in³ and about 28.3 litres, 165 in³ is about 2.7 litres.
The 2.7 litres is the theoretical volume with no waste. It is the figure to compare with the coverage stated for the grout product, not a replacement for that coverage. Section 6 below explains how to turn it into bags.
Why add at least 10% extra, and when add more?
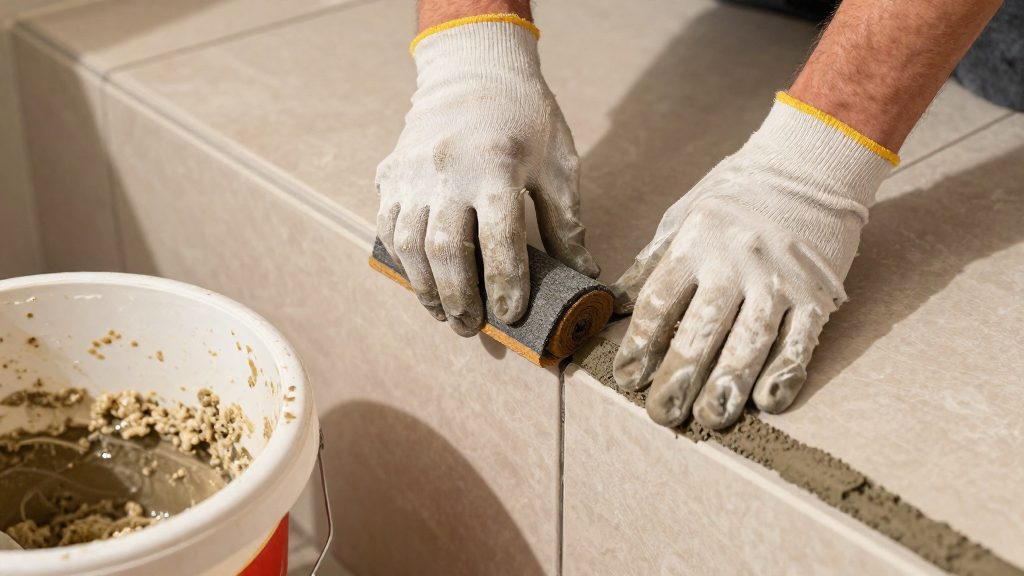
The manufacturer guidance on this topic recommends adding at least 10% to the calculated quantity to cover waste during installation and clean-up. In practice the extra is absorbed by grout left in the mixing bucket and on the float, by spills, by joints filled slightly deeper than the tile thickness, and by grout removed when joints are cleaned out. For the 150 sq ft example, 2.7 litres plus 10% gives about 3.0 litres.
Plan for more than 10% when the layout is complex, when tiles are irregular in size or thickness, or when you are installing tile for the first time. Those conditions make cuts, uneven joints and rework more likely.
How do you convert the volume into bags and water?
Divide your required volume by the volume of one bag. The bag volume is the coverage printed for that grout, multiplied by the joint volume per square foot used to produce that coverage figure. Coverage is stated for specific tile sizes and joint dimensions, so use the coverage chart in the product’s technical data sheet for the grout you have chosen. If the chart uses different units, convert to cubic inches or litres before dividing. One cubic foot is about 28.3 litres.
Extra water weakens grout, can increase shrinkage, and can produce uneven colour across the joints. Do not guess a ratio from a different product.
How do you work with grout safely?
Dry grout contains cement, and sanded grouts and some cement products may contain crystalline silica, so check the safety data sheet for the product you use. The Canadian Centre for Occupational Health and Safety (CCOHS) notes that breathing crystalline silica dust can damage the lungs, that long-term exposure is linked to lung cancer, and that there is no effective treatment for silicosis, so controlling exposure is the only protection. In practice:
- Mix in a ventilated space, outdoors where possible. Mix slowly so the powder does not puff into the air, and avoid dry sweeping. Clean up with a vacuum fitted with a HEPA filter or with damp methods.
- Wear a respirator suited to silica dust, safety glasses and waterproof gloves. If you work on a job site, check the workplace health and safety rules that apply in your province or territory.
- Wet grout is alkaline and can burn skin and eyes with prolonged contact. Rinse splashes with clean water promptly, and do not kneel in wet grout without protective clothing.
- Keep children and pets away from the mixing area and from freshly grouted joints until the grout has set.
Frequently asked questions
Does the formula work for natural stone or large-format tiles?
The formula uses only the tile length and width, the joint width and the joint depth, so it applies to any rectangular tile. Stone and large-format tiles often have tighter or specified joint widths and irregular edges, so use the joint size recommended by the setting material maker.
How long can I keep mixed grout before it must be used?
Working time depends on the product, the temperature and the humidity. The manufacturer’s data sheet gives the working time. Never add water to grout that has started to stiffen, because this weakens it. Mix a smaller batch instead.
What should I do with leftover grout and wash water?
Let leftover grout harden and dispose of it with household waste under your municipal rules. Do not rinse wash water into storm drains, and check local guidance for disposing of cement-based residue.
Why can grout colour differ between batches?
Pigments and fillers can vary slightly from one production lot to another. Buy all the grout for one area from the same lot, and mix and test a small patch before grouting the whole floor.