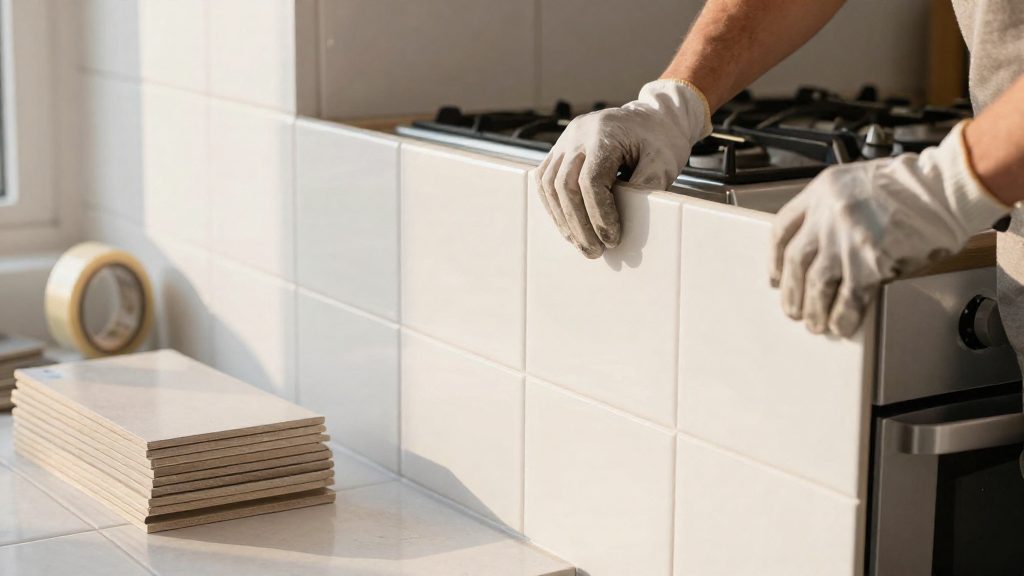
To work out how many tiles you need for a kitchen backsplash, measure the wall area in square metres, divide it by the area of one tile, then add a waste allowance for cuts and breakage and round up to whole tiles. A plain layout with few cuts needs less extra than a diagonal pattern or a wall broken up by outlets, corners and windows. The steps below use a worked example, so you can swap in your own dimensions.
How do you measure the backsplash area?
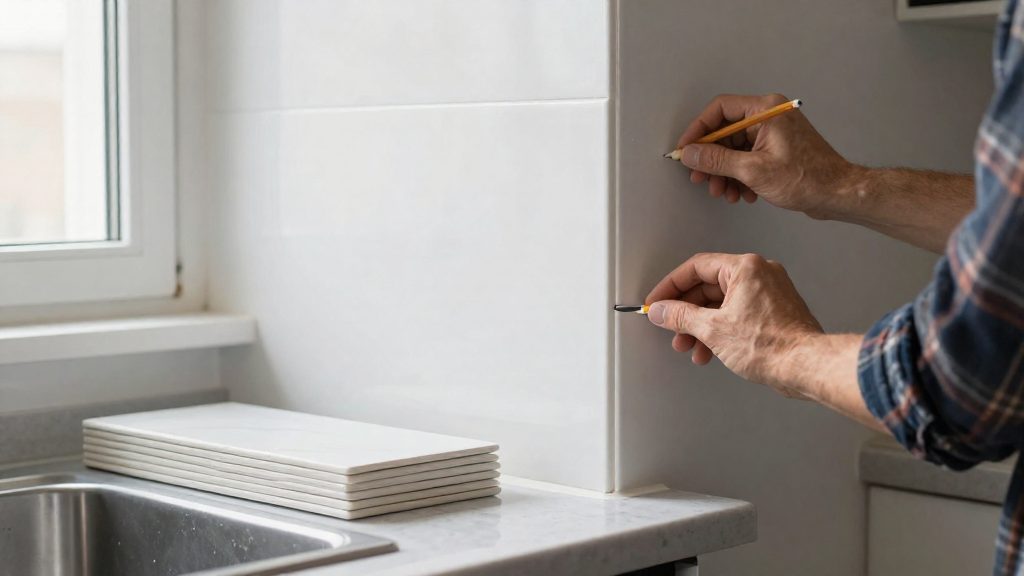
Measure each wall section separately, running from the top of the counter to the underside of the upper cabinets, or to the ceiling if there are no uppers. Measure the width along the longest run, and take the height at the left, centre and right, using the largest figure, because walls and counters are rarely perfectly level or square. Record every measurement in metres to two decimal places.
Multiply width by height for each section, then add the results together. Subtract the area of any opening that will stay untiled, such as a window. Leave small openings like outlets in the total: you will tile around them, and the waste allowance covers the cuts.
In the worked example, the main run behind the cooktop is 2.40 m wide and the backsplash is 0.60 m high. A return wall beside the fridge is 0.90 m wide at the same height. The calculation is:
Section A: 2.40 m × 0.60 m = 1.44 m² Section B: 0.90 m × 0.60 m = 0.54 m² Total area: 1.44 m² + 0.54 m² = 1.98 m²
How do you turn the area into a tile count?
Work out the area of one tile using the dimensions printed on the box label. Multiply length by width, both in metres. A 300 mm × 600 mm tile is 0.30 m × 0.60 m, which gives 0.18 m² per tile. Divide the wall area by that figure: 1.98 m² ÷ 0.18 m² = 11.0 tiles. That is the bare count, with no allowance for cuts.
For a more precise count, use the spacing instead of the tile’s face size: (length + joint width) × (width + joint width). The joint width comes from your grout line plan and the manufacturer’s installation instructions. Wider joints cover slightly more wall per tile, so the count drops a little.
Tile is sold by the box, not by the tile. Divide your final tile count by the number of tiles in one box, as stated on the packaging or in the product specifications, and round up. If a box held ten tiles, 13 tiles would mean two boxes, with the second box mostly left over. Round up rather than down, because a short order can mean a different production lot later.
How much waste should you allow?
Waste is the tile you cannot use: offcuts around outlets and corners, pieces broken during cutting, and edge pieces too small to reuse. The amount depends on the layout. A straight grid or running-bond layout with few cuts needs less than a diagonal, herringbone or a wall split by several openings. Large-format tiles, which need more precise cuts, and small mosaic sheets, which have many joints, also change the allowance.
The official sources consulted for this article do not give a single waste percentage that fits every backsplash. Check the layout guidance in the tile manufacturer’s installation instructions for your product and pattern before you set your figure.
For the worked example, assume 10% as an illustration only, not as a standard. The wall area becomes 1.98 m² × 1.10 = 2.18 m². Divide by 0.18 m² and the result is 12.1 tiles, which rounds up to 13 tiles.
Before you cut anything, lay out a row of tiles dry on the counter, starting from the centre line or from the most visible corner. This shows where the cut pieces will fall, so you can move the layout to reduce small slivers at the ends and around outlets. A dry layout often saves more tile than any percentage adjustment.
When should you keep spare tiles?
Keep a few whole tiles from the same production lot, stored flat, dry and labelled with the room and wall they belong to. A cracked tile behind a range or in a splashed corner is much easier to replace with a matching piece than to match later. Tile colour and finish can vary between production lots, so tiles bought months later may not match exactly. Keep the spares somewhere they won’t be damaged by moisture or heat, such as a dry cupboard away from the dishwasher.
Why do outlets and switches change the job?
Tiling itself is not electrical work, but moving, replacing or resetting an outlet or switch box is. Where you can, tile around existing boxes and fit new cover plates to the tiled wall. Before you remove a cover plate or touch any wiring, switch off the breaker that feeds the outlet, then confirm the power is off with a voltage tester. Do not rely on the wall switch or on the outlet being dead.
Rules differ across Canada. Ontario is a useful example. The Electrical Safety Authority (ESA) says homeowners may do electrical work in their own home, but must file a notification of work with ESA before starting, and this applies even to small jobs. Friends, family and neighbours cannot do electrical work in your home. ESA must review the work before it is concealed behind tile, and after approval it issues a Certificate of Acceptance, which it describes as an important document for insurance and resale. The current Ontario Electrical Safety Code took effect on May 1, 2025, and all work must meet it. Other provinces have their own electrical authorities, so check the rules where you live before you start.
How do you cut tile without breathing silica dust?
Cutting tile creates fine dust that can contain crystalline silica. A NIOSH evaluation of cement tile cut with gas-powered portable saws measured respirable crystalline silica between 0.03 and 0.32 mg/m³. Of the samples, 88% exceeded the NIOSH recommended exposure limit of 0.05 mg/m³ (NIOSH, 2004). That study covered roof tile and a different task from a kitchen backsplash, so it does not measure your job. It does show how quickly dust can exceed recommended limits when cutting is done dry.
For a backsplash, cut with a wet saw wherever possible, and keep the water flowing so dust stays damp. Use a manual score-and-snap cutter for straight cuts that do not need a saw. Work outdoors, or in a room with a window open and a fan blowing dust away from you. Avoid dry grinding or sanding the edges of tile. Clean up with a damp cloth or a vacuum fitted with a HEPA filter rather than a dry broom, and keep children and pets out of the room while you cut and clean.
Wear a respirator that fits your face properly and is rated for fine dust. Canadian silica limits are set through provincial workplace health and safety rules, and the official sources consulted for this article did not set out limits that apply to a homeowner doing this job.
When should you stop and call a licensed electrician?
Stop work and call a licensed electrician if you find damaged or brittle insulation, a loose or cracked box, scorch marks, a warm or buzzing outlet, or any wiring you do not understand. Stop as well if you cannot confirm that the power is off, or if the tile layout would require moving a box that you cannot access safely. ESA recommends hiring a Licensed Electrical Contracting Business as the safest decision for electrical work, and that advice applies whenever the job goes beyond what you are confident doing yourself.
Frequently asked questions
Does a mosaic or glass backsplash use the same method?
Yes, the area method still applies. Mosaic is usually sold in sheets, so divide the wall area by the coverage of one sheet, as stated by the manufacturer, and round up.
Can I tile over an existing backsplash?
The official sources consulted do not cover this. Check the manufacturer’s installation instructions for the surface preparation and adhesive you plan to use.
Do I need an electrical permit to tile a backsplash?
Tiling alone is not electrical work. If you move, replace or reset an outlet or switch box in Ontario, an ESA notification is required before you start. Elsewhere in Canada, check your provincial electrical authority.
Is a dust mask enough when cutting tile?
Not on its own. Wet cutting and good airflow come first, and the respirator must fit your face properly and be rated for fine dust.